Easy DIY Candle Making for Beginners: A Step-by-Step Guide

DIY candle making is a fun, affordable and customizable craft that allows you to create beautiful, unique homemade candles using a variety of techniques, scents and decorative elements. With just some basic supplies like candle wax, wicks, essential oils and simple tools, you can craft your own signature candles for yourself, as special gifts or home decor accents.
In this beginner’s guide to DIY candle making, we’ll explore the main types of wax, essential oil blending tips, different molding options like jars or votives, and easy techniques to create everything from lightly scented candles to decorative layered or whipped designs. We’ll also cover tips on adding creative decorative touches like spices, dried flowers and more.
How do I start making my own candles?
Making candles is a fun DIY project! You’ll need soy wax, a wick, fragrance oil (optional), a container, a double boiler, thermometer, and popsicle sticks. Simply melt the wax, add fragrance oil (if using), secure the wick, pour the wax, and let it cool. Remember safety first, research fragrance oils, and start small. With some practice, you’ll be a candle-making pro!
Step-by-Step Guide to Making DIY Candles
With just a few basic supplies like wax, wicks and oils, you can make beautiful, unique DIY candles right at home! This step-by-step beginner’s guide explains how.
Table of Contents
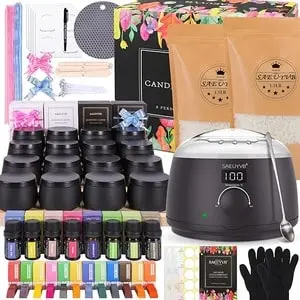
Getting Started | Candle-Making Supplies
Before you start, you’ll need to gather some basic candle making supplies:
1. Wax
The two most common wax options for DIY candles are soy wax and paraffin wax.
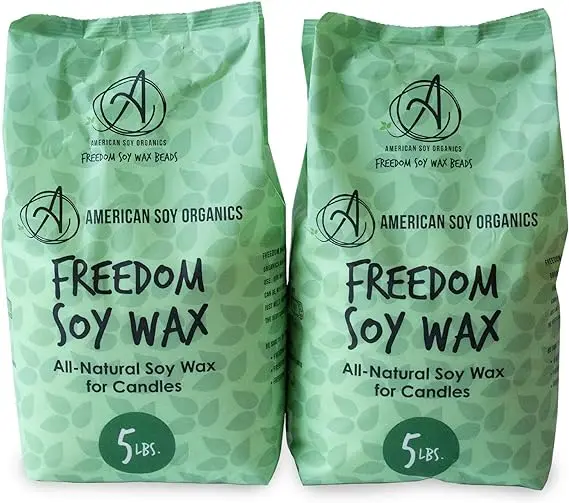
Soy wax is an affordable, renewable wax made from soybeans. It burns cleanly and is extremely versatile for making container candles, votives, pillars and more. Soy wax has a shorter maximum fragrance load though.
Paraffin wax is a petroleum-based wax that allows for maximum scent throwing ability. However, it produces more soot when burned compared to soy.
For beginners, I’d recommend starting with soy wax which is an easy, fool-proof option.
2. Wicks and Wick Holders
Always use lead-free, cotton-braided candle wicks sized appropriately for the diameter of your candle. Having the right wick is crucial for proper melt pool formation and preventing excessive sooting.
You’ll also need wick holders, wick bars or wick stickers to keep wicks centered and upright as you pour the wax.
3. Fragrance Oils and Essential Oils
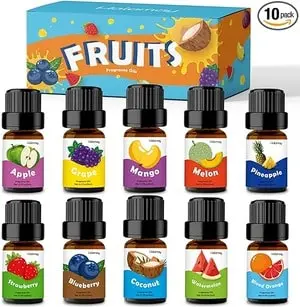
These add wonderful scent to DIY candles! Essential oils are derived from plants and provide a pure, natural aroma. Fragrance oils are synthetic but offerexact scent replications.
For safety reasons, always use fragrances specifically formulated for candles and follow recommended fragrance load guidelines. Popular scent choices include florals, citrus, woodsy and holiday blends.
4. Containers/Molds
Versatile options for containers and molds include glass jars, tin cans, silicone molds or even hollowed-out fruits and vegetables! Use oven-safe containers with no cracks or impurities.
5. Other Fun Supplies
Get creative by adding decorative elements like spices, coffee beans, dried herbs/flowers, glitter, ribbons, wax dyes and more. You can also use wick tabs, popsicle sticks as wick holders.
DIY Candle Making Instructions
Now for the fun part – making your unique DIY candles! Here are some easy techniques to start with:
Basic Candle Pour
- Prepare containers/molds by securing wicks in the center using holders.
- Melt wax in a double boiler or wax melting pitcher until liquid.
- Remove from heat and mix in desired fragrance oils at 8-10% fragrance load.
- Carefully pour wax into containers leaving 1⁄2″ of space on top. Allow to fully cool.
- Once set, trim wicks to 1⁄4″ above wax surface.
Layered Candles
- Follow basic pour but this time only fill containers 1⁄3 of the way. Allow first layer to fully set.
- Remelt a contrasting wax color/scent and pour the second 1⁄3 layer. Allow to set.
- Repeat for a third layer if desired, then trim wick.
Whipped Candles
- Follow basic melt, adding 1 tsp of soy wax additive per 1lb of wax.
- Once melted, use a hand mixer on low to whip and aerate the wax.
- Quickly pour into containers before wax hardens. Allow to set fully.
- The end result is a lush, creamy-textured candle!
Decorative Flourishes
Get creative by mixing in fun decorative elements like:
- Edible spices (cinnamon sticks, anise stars, coffee beans)
- Whole dried flowers or petals
- Fresh herb sprigs or leaves
- Sugar sprinkles or decorative salts for texture
- Ribbons, lace or other trims for jars
When pouring wax, just sprinkle in decorative elements in between layers or on top. Get creative with themes like holiday blends, floral bouquets, herb garden candles and more! The sky’s the limit.
Essential Tips for Perfect DIY Candles
Candle making tips
- Use a candle pitcher or double boiler for melting wax – never direct heat.
- Add fragrance when wax is in liquid state – not while melting.
- For container candles, use proper wick sizing and always use wick holders/stickers.
- Trim wicks to 1⁄4″-1⁄2″ before burning to prevent soot and uneven melting.
- Keep continuous flames away from fragrance/essential oils which are flammable.
In Conclusion
Once you get the basics down, you’ll be hooked on experimenting with new color combinations, fragrance blends, embellishments and techniques. Not only does it produce wonderful handmade candles, but DIY candle making allows you to fully customize candles to your exact scent and style preferences. It’s an endlessly creative and inexpensive craft!
So gather your wax, oils and containers to get started making your own signature DIY candles. From subtle accent pieces to bold themed statement candles, making candles allows you to craft something special for every mood and occasion – all with your own personal touch.